And now for something completely different...
My wife has complained about her 90's vintage computer station for years. It was inexpensive chip-board, ugly, big enough for a tower computer, a printer, fax machine and a rack-full of CDs, boxed programs, etc. And it took up a lot of room. And when the original keyboard tray broke, my replacement had sharp corners and was difficult to extend/retract, and it was ugly.
I thought about just replacing the tray (again), but that still didn't address the core issues (ugly, big, and dated). In the end, I decided to try something new and maybe do a live edge table since I've got access to all the tools, the CNC for flattening a slab, good sanders and hand tools, plus folks who could provide a little expertise if needed.
After checking the prices (and sizes) of local 'urban wood' slabs, they were either extremely large, overly
expensive, or still wet. I posted a note on our makerspace #slack channel looking for a slab, and wow - one of the members had a pile of rock elm slabs. I picked one out, paid a small (but very fair) ransom, and carted it away.
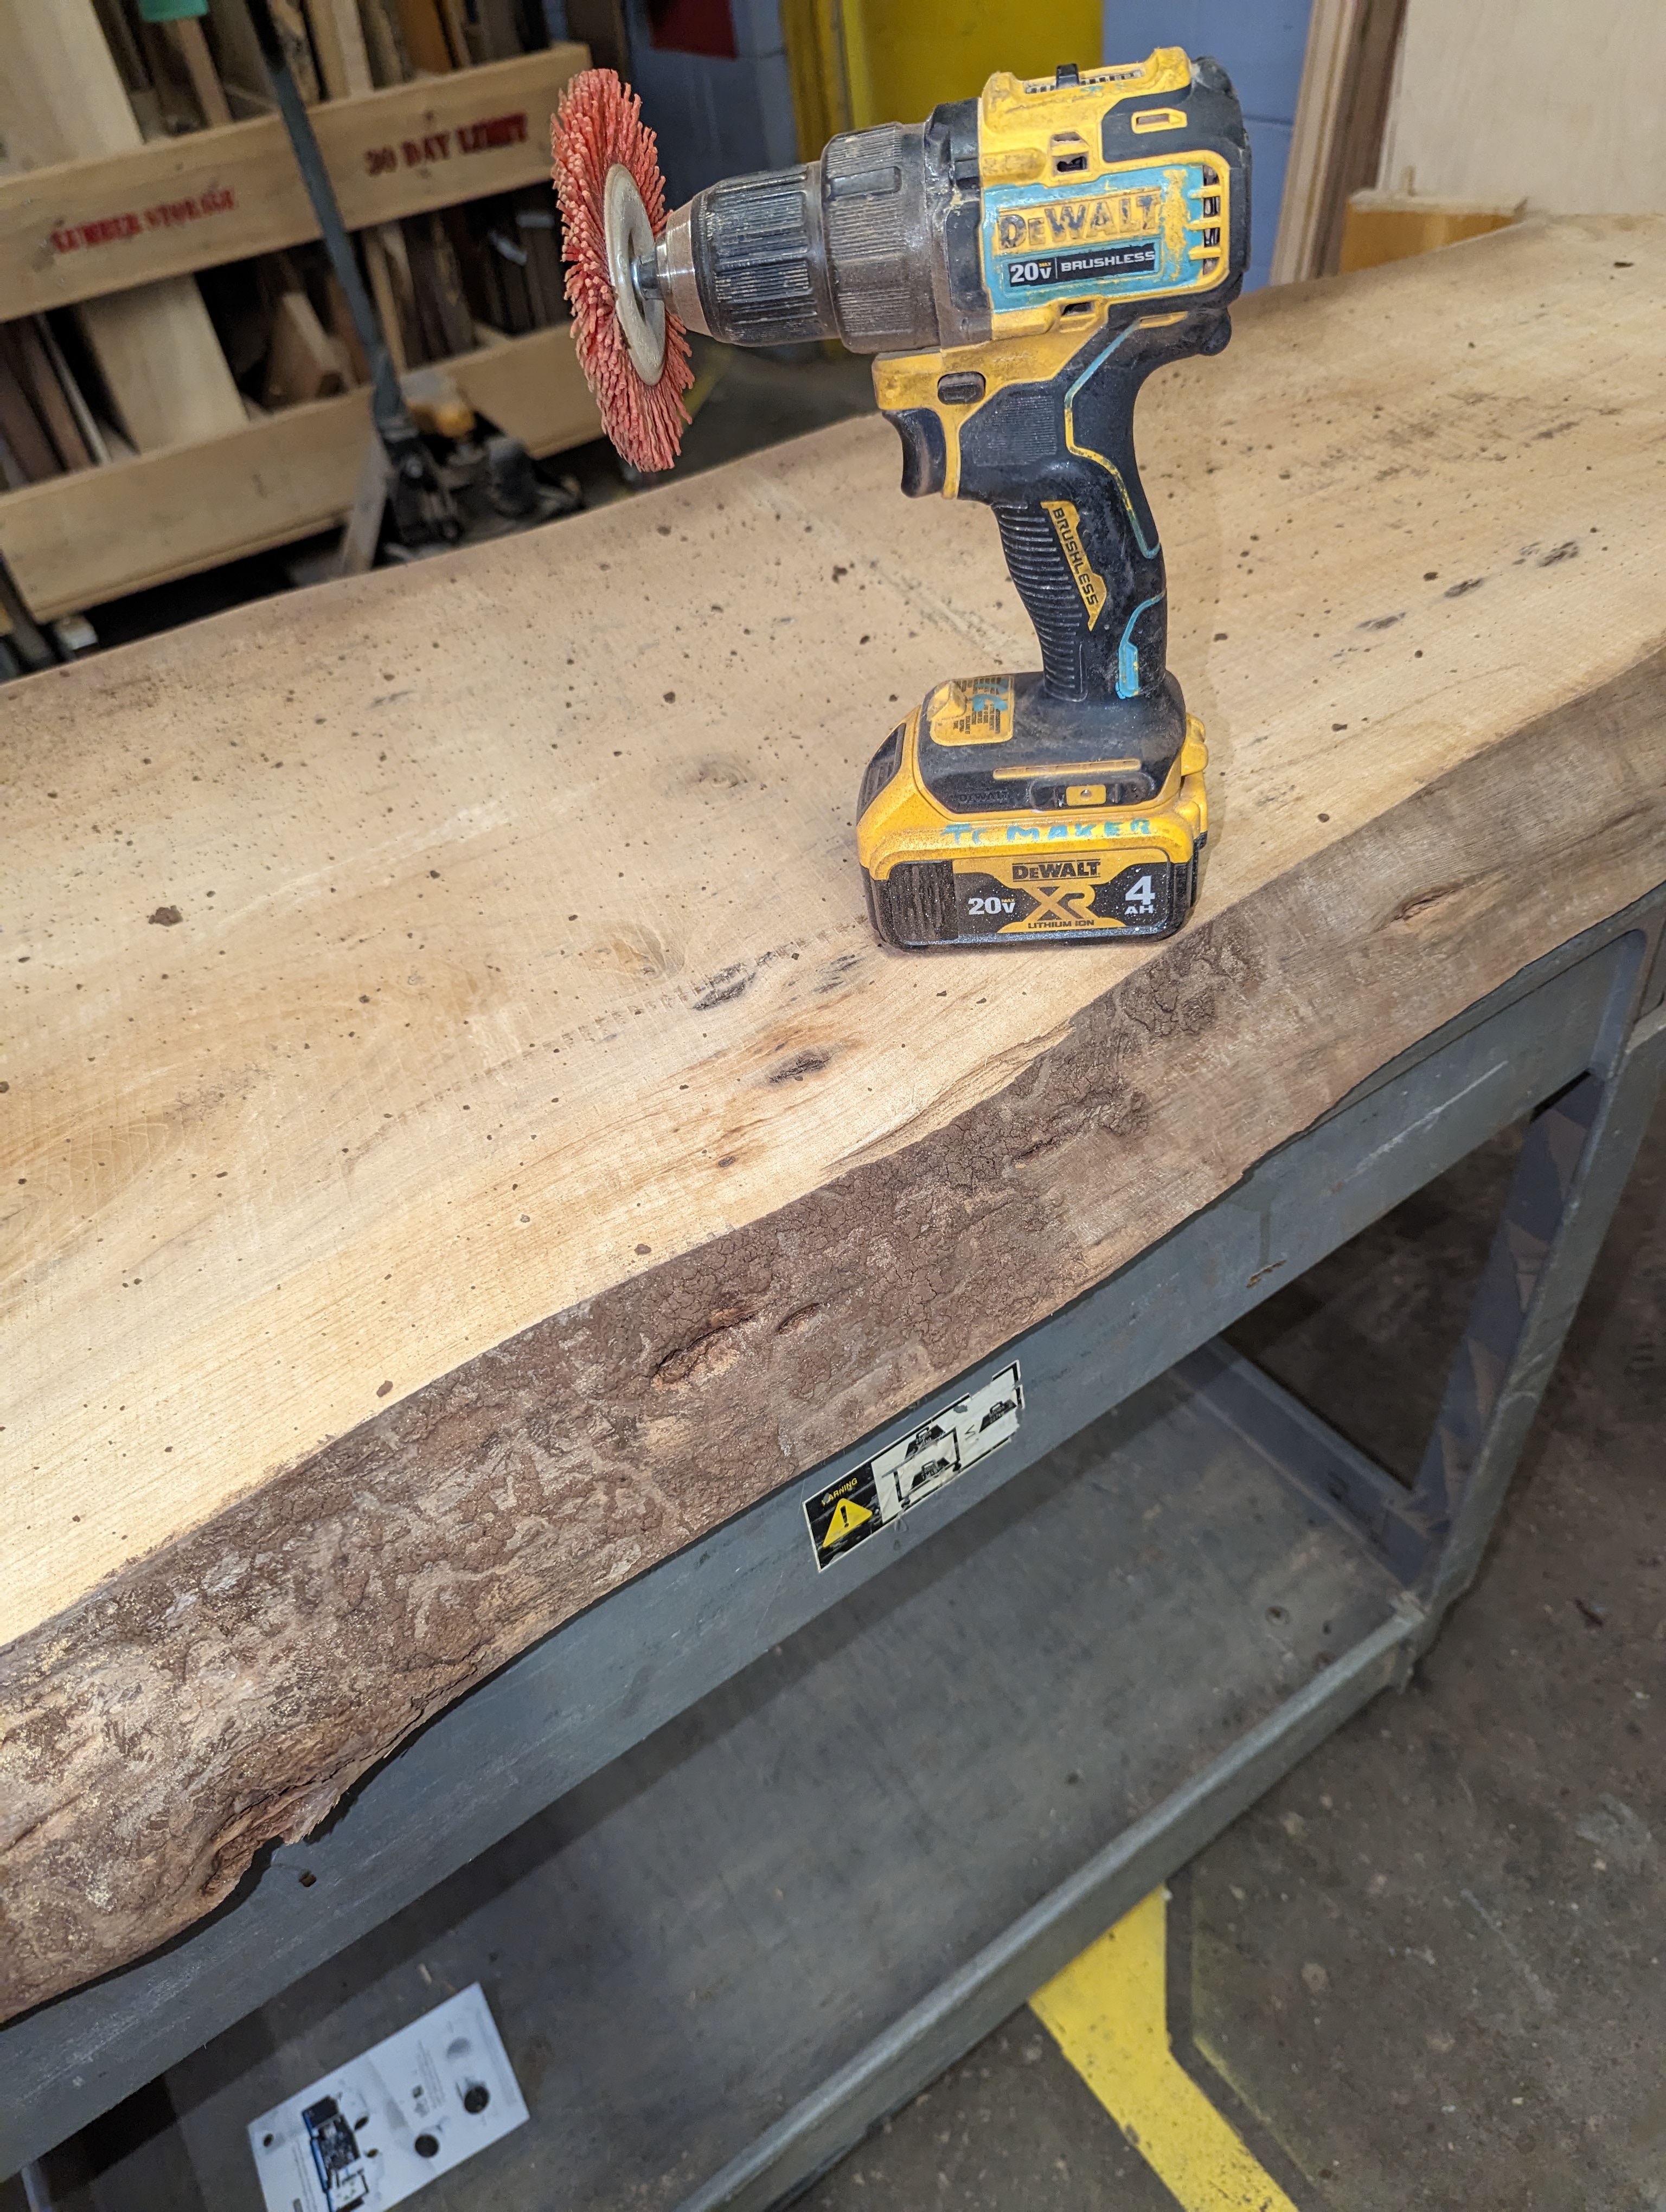
As you can see in the picture, there was a good sized defect in the slab that I'd originally planned to leave in place, but I decided to 'let the slab tell me' what sort of table it would make after I'd machined it flat.
The first step was to clean it up. Most of the bark had been removed, but there was still a layer of inner bark and dirt to remove, plus anything loose that could be pulled from the bark inclusions and knots had to be cleaned out as well.
This was pretty easy - a plastic abrasive brush (Harbor Freight) was perfect for gently cleaning the surface without damaging the texture. It took me about 30 minutes to do both sides.
Picking out the bark inclusions and cleaning out the voids was a little more effort - I used a screwdriver and dental pick, plus compressed air and the shop vac to get all the loose stuff out. I was not super aggressive for this step - I knew that more material would loosen up when the slab was surfaced, so it didn't matter too much if I got it all right now.
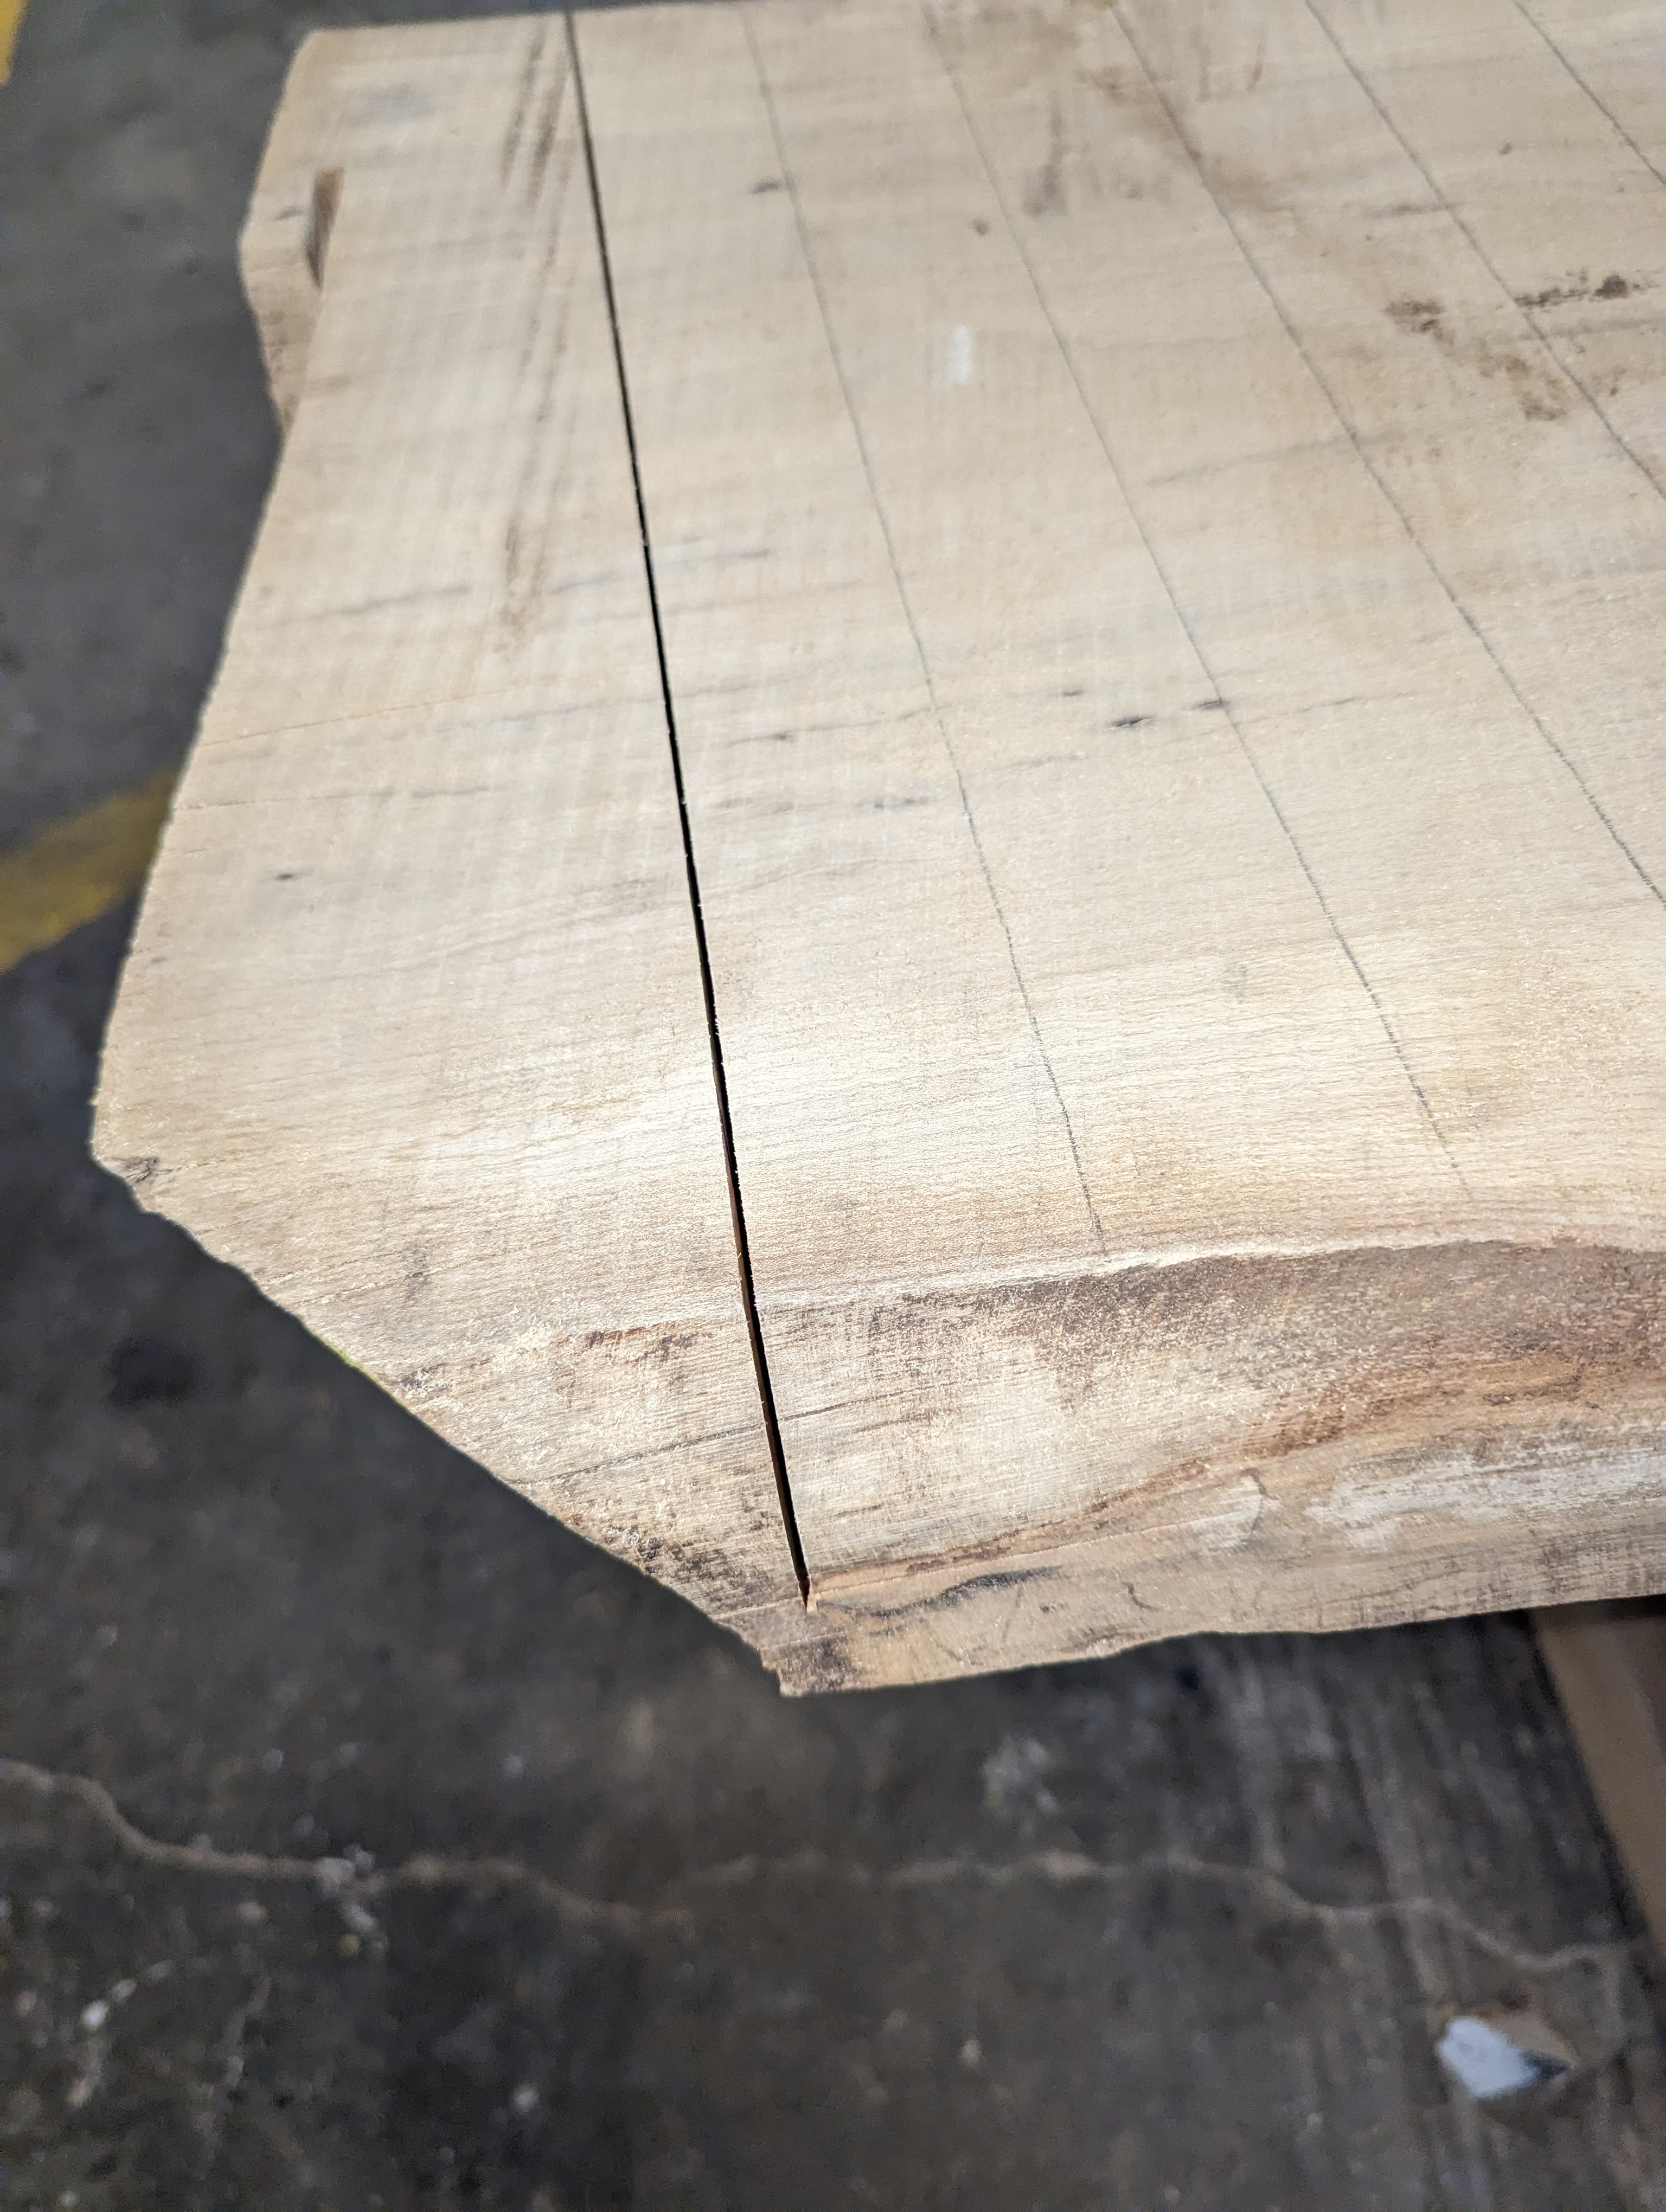
After staring at the slab for a while, I had an idea of the general shape, and struck a line across the cleanest end as a reference line. This also allowed me to use the tail for clamping, knowing that I would not need to clean it out and that my tooling would be safe.
I used a 2" steel rule and put parallel pencil lines on the surface along the whole slab simply as visualization references.
And then it was time for the first clearing passes.
Since the slab had a bit of cupping and bowing, I blocked it up to ensure it was as flat and stable as possible, and clamped it down from the ends. The clamps were not super tight, but between the weight of the slab and the clamp pressure it was not going to move.
I bought an inexpensive 2" surfacing bit, but with the variability of the surface, I started out with a .25" end mill to take off the high spots. I used a simple pocket routine that I could easily adjust the pattern to mill away the highest spots and to complete a rough cleaning pass. This took a while...
quite a while... Watching a CNC mill cover a large slab and cut mostly air is, well, not the most fun you can have in a shop, but it has to be done. Yes, I could have zoned it in small sections, and in fact once I had first contact and actually knew where the highest spots were, that's what I did. But the first cuts were mostly for profiling.
After that, it was a matter of making passes. I started out removing material from the notable high spots - there was about .5" of 'cup' to the slab, plus some sawyer's variability from the chainsaw mill, so by setting the pocket to be 10" wide I was able to speed up the first few passes. Eh maybe. In hindsight, I think I would've been fine with just running the program and not taking downtime to reset zero, increment the cut depth and reposition the boundaries.
After the first few cuts with the 2" mill, I started making full size cuts - taking off .050 per pass with a 50% overlap. This was probably too much. I think I would've been better off taking .025, 25% overlap and running a faster feed rate to prevent the little bit of burning I incurred.
You can see how much material had to be removed (pencil for reference).
Once I had the slab milled flat, it was starting to speak to me about dimensions and finish. I really wanted to keep the full branch feature and defect, but it would have made a very awkward/not very functional computer table, plus the most dramatic live edge was on the opposite side. To fill the entire void would have taken at least 2 quarts of resin! Since my goal was to *not* do an epoxy flow table, I didn't want huge features made of resin taking focus away from the grain patterns in the wood itself.
Using the track saw (sorry, no pictures - not sure what happened), I squared off the end and then ripped the side. The waste bit went to a guy who makes spoons and handles, so hopefully some nice bits come from that.
I clamped a frame to the slab to fill the main voids with epoxy (West 105/205 plus a bit of black dye). The first pour went well, but the second apparently found a blow through path that leaked resin under the first pour and made a bit of a mess. No biggie -it was going to get milled off anyway, but it was pretty ugly.
I filled all of the defects, leaving them a little high to account for contraction and slump as the epoxy cured.
Once everything hardened up, I went back to the CNC and milled it all flat again, removing all of the overflow. The result was a nice clean finish, but still with the CNC cut lines showing.
Once that was flat, I did one more fill pass for all the small defects, this time with Starbond thick CA just to ensure I had all of the surface defects frozen in time.
Then, it was back to the CNC to machine in slots for the C-channel. This was a simple CAD program I set up to inset the C-channels and legs, but not try to measure the hole placement.
I used threaded inserts (1/4-20), marking and drilling 9mm holes for each insert to ensure accurate placement.
The inserts used a hex key to screw them in - I used a bit of wax on the threads, and they went right in.
Note: I would never even bother with the slotted/phillips type inserts. My experience says they would chip and strip before you got the thing in.
Note as well that I chose not to countersink the holes. The inserts had a very thin and small lip, and they imbedded nicely to the surface. There was no need to try and countersink them.
Once this was done, it was off to sanding to polish up the works. I used 150 grit to get everything flush and smooth, and then 220 to get ready for finishing.
After consulting with folks at the shop and with much watching of youtube videos, I settled on doing the finish with Osmo Polyx Satin and little rectangles of white scrubbies. This worked exactly like the videos said it should and the results were exactly what I was hoping for!
The branch inclusions on the live edge were pretty neat and the Osmo really made them pop. I used a chip brush the ensure I got finish back in the cavities.
The legs C-Channel and keyboard tray were attached with 1/4-20 button head screws. They aren't going anywhere. The C-Channels are slotted, and can shift as needed.
The results. My wife was very surprised by the table. And now her computer is sitting on a bespoke bit of art if I do say so myself:)